 Here I am hard at work looking rather serious, mounting the cut out foam blocks onto some thick card.

I used a roller to apply acrylic paint to the print blocks to give it a more even coat of paint. I had quite a session of it as you can see – I used a clothes airer to hand the papers to dry as I have limited table space, and this allowed me to keep printing while I had all the paints on the go.
When using a roller you tend to have loads of spare paint on it, so after I finished printing, rather than wash it all down the sink, I kept rolling onto any piece of paper I could get my hands on, using different angles, pressure and ends of the roller for different effect – Also into my sketch book pages – I basically rollered everything in my path and
I also kept the paper I had used underneath as I was sloshing and printing which had some pretty interesting marks by chance, and will I’m sure come in handy for some collage at a future date. Here’s an A4 section of this ‘drip sheet’ below.

Here are a couple of pages of my sketchbook (A5 opened out to A4). I used up the paint on my stamp and then added a wash of colour once it was dry (below right), and I used a paper star shape as a mask and roughly rollered over the top to use up the paint.


A happy accident – I the star I used as a mask (below) looks highly decorative in its own right – I used the roller after having dabbed my stamp direct to the pallette numerous time, and these imprints were transferred to the roller and on to the paper – you can just make out some ghostly marks form the print block.

Here are a selection of some of the more successful pieces
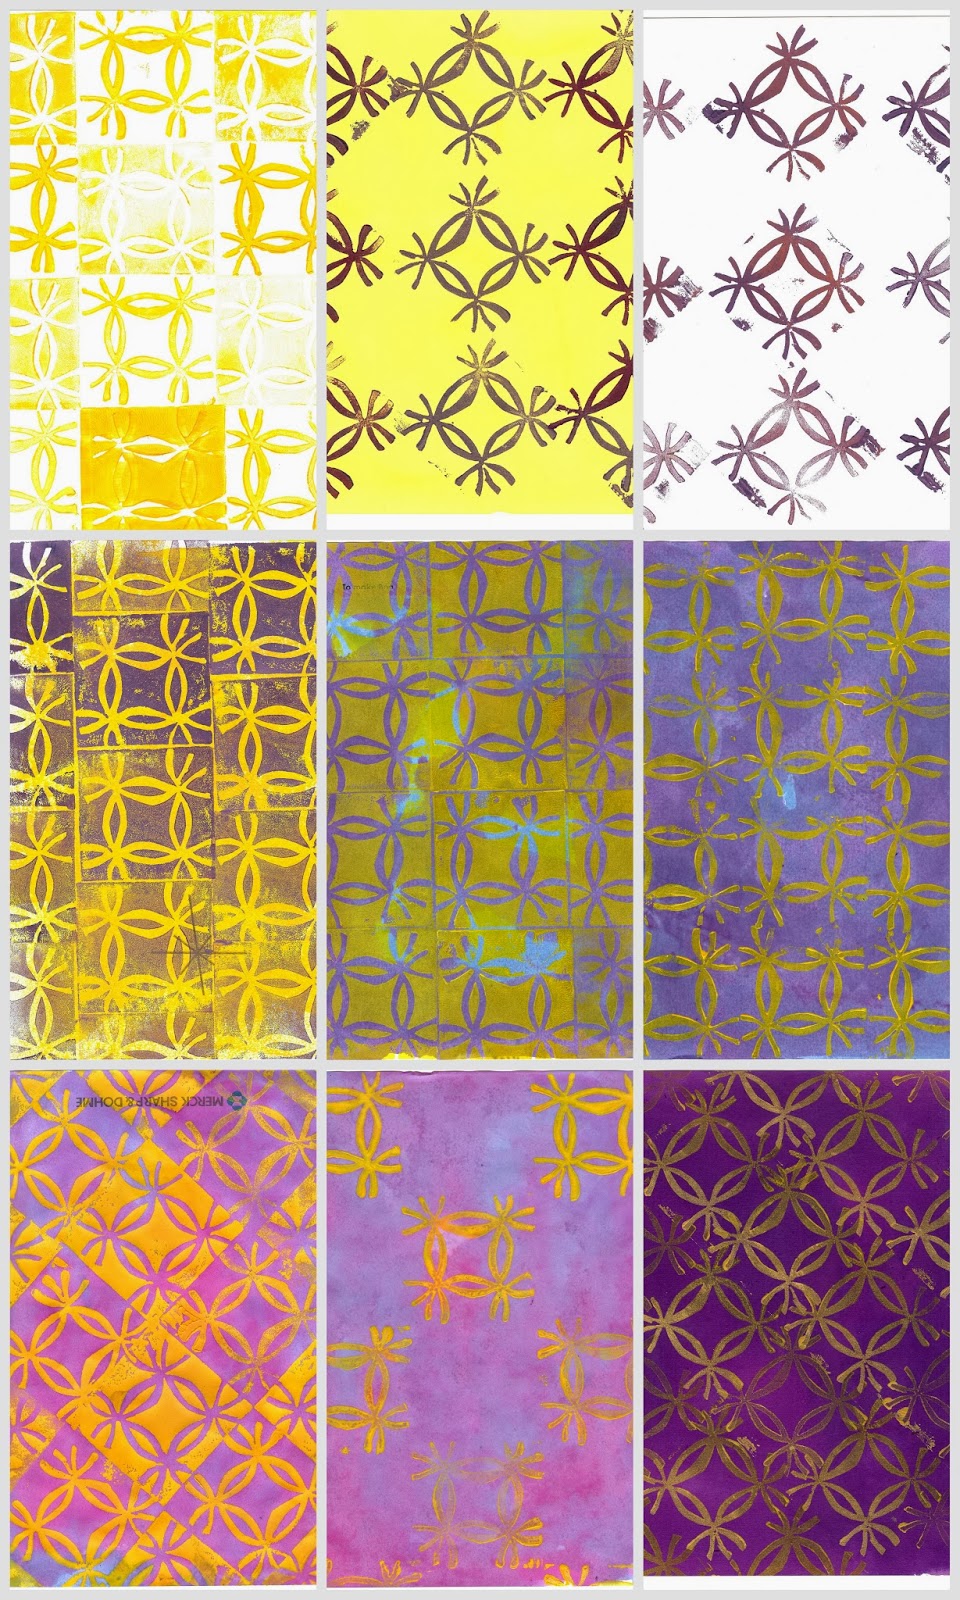 |
| Assorted patterns on A4 Sheets using acrylic paint and procion dye washes |


